Operating modes
- Adapt the cutting depth to the thickness of the workpiece. A space of less than the height of one full tooth should be visible under the workpiece.
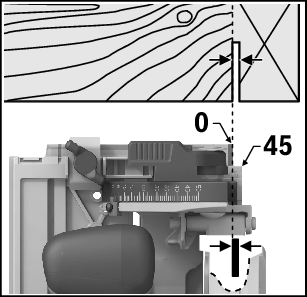
The cutting depth can be set using the button for cutting depth preselection (3).
For a smaller cutting depth, pull the saw away from the base plate (8); for a larger cutting depth, push the saw towards the base plate (8). Set the required cutting depth on the scale (21).
Note: Use the white scale marking (41) on the cutting depth scale (21) for making cuts with a guide rail and the red scale marking (42) for making cuts without a guide rail.
We recommend that you place the power tool down on the front side of the protective guard (17).
Loosen the clamping lever for preselecting the mitre-bevel angle (10) and wing bolt (16). Swivel the saw to the side. Set the required mitre/bevel angle on the scale (9). Retighten the adjusting lever (10) and wing bolt (16).
To move the saw back into its original position, loosen the clamping lever for preselecting the mitre/bevel angle (10) and wing bolt (16). Move the saw to the 0° position and retighten the clamping lever and the wing bolt without applying pressure to the saw.
Note: When making mitre cuts, the cutting depth is less than the value shown on the cutting depth scale (21).